Check the BBTK v2 using a serial communication software
Before using the python module, we recommend to check the communication between the BBTKv2 and the PC using a serial communication program, following instructions in the next section.
Power on the Bbtk_v2, then link it through USB cable to your computer
A usb-storage device
BBTKV2should be detected and mounted, and a USB ACM device/dev/ttyACM0should have been created.Determine the Baud Rate:
cat /media/*/BBTKV2/BBTK.ini
[BaudRate]
230400
Launch a serial communication program (e.g. minicom if you are runnning Linux — you may have to install it with
sudo apt install minicom), and open/dev/ttyACM0, set the configuration to 8bits, NoParity, and a Buda RAte equal to the one you read from theBBTK.inifile.minicom -8 -D /dev/ttyACM0 -b 230400
The terminal should display something like:
Welcome to minicom 2.7.1

OPTIONS: I18n
Compiled on Dec 23 2019, 02:06:26.
Port /dev/ttyACM0, 17:31:53

Press CTRL-A Z for help on special keys
Press
CTRL-A Zand selectLocal Echo 'on', andAdd Carriage Ret, andSend a BreakRun a short acquisition session:
Send the command
CONN. In return, you should get the messggeBBTK;Enter the command GEPV read the sensors’ thresholds.
Enter
SEPVand 8 times63to set the sensors’ thresholdsEnter
SPIEto erase internal memory. Check the display of the Bbtkv2.Enter
ICHKand create events (e.g. putting a light on/off on a photodetector), each event should generate the display of a line with 12 binary digits. Send a BreakCTRL-A Z Fto interupt the process;To capture events for 10s:
DSCM
TIML 10000000
RUDS
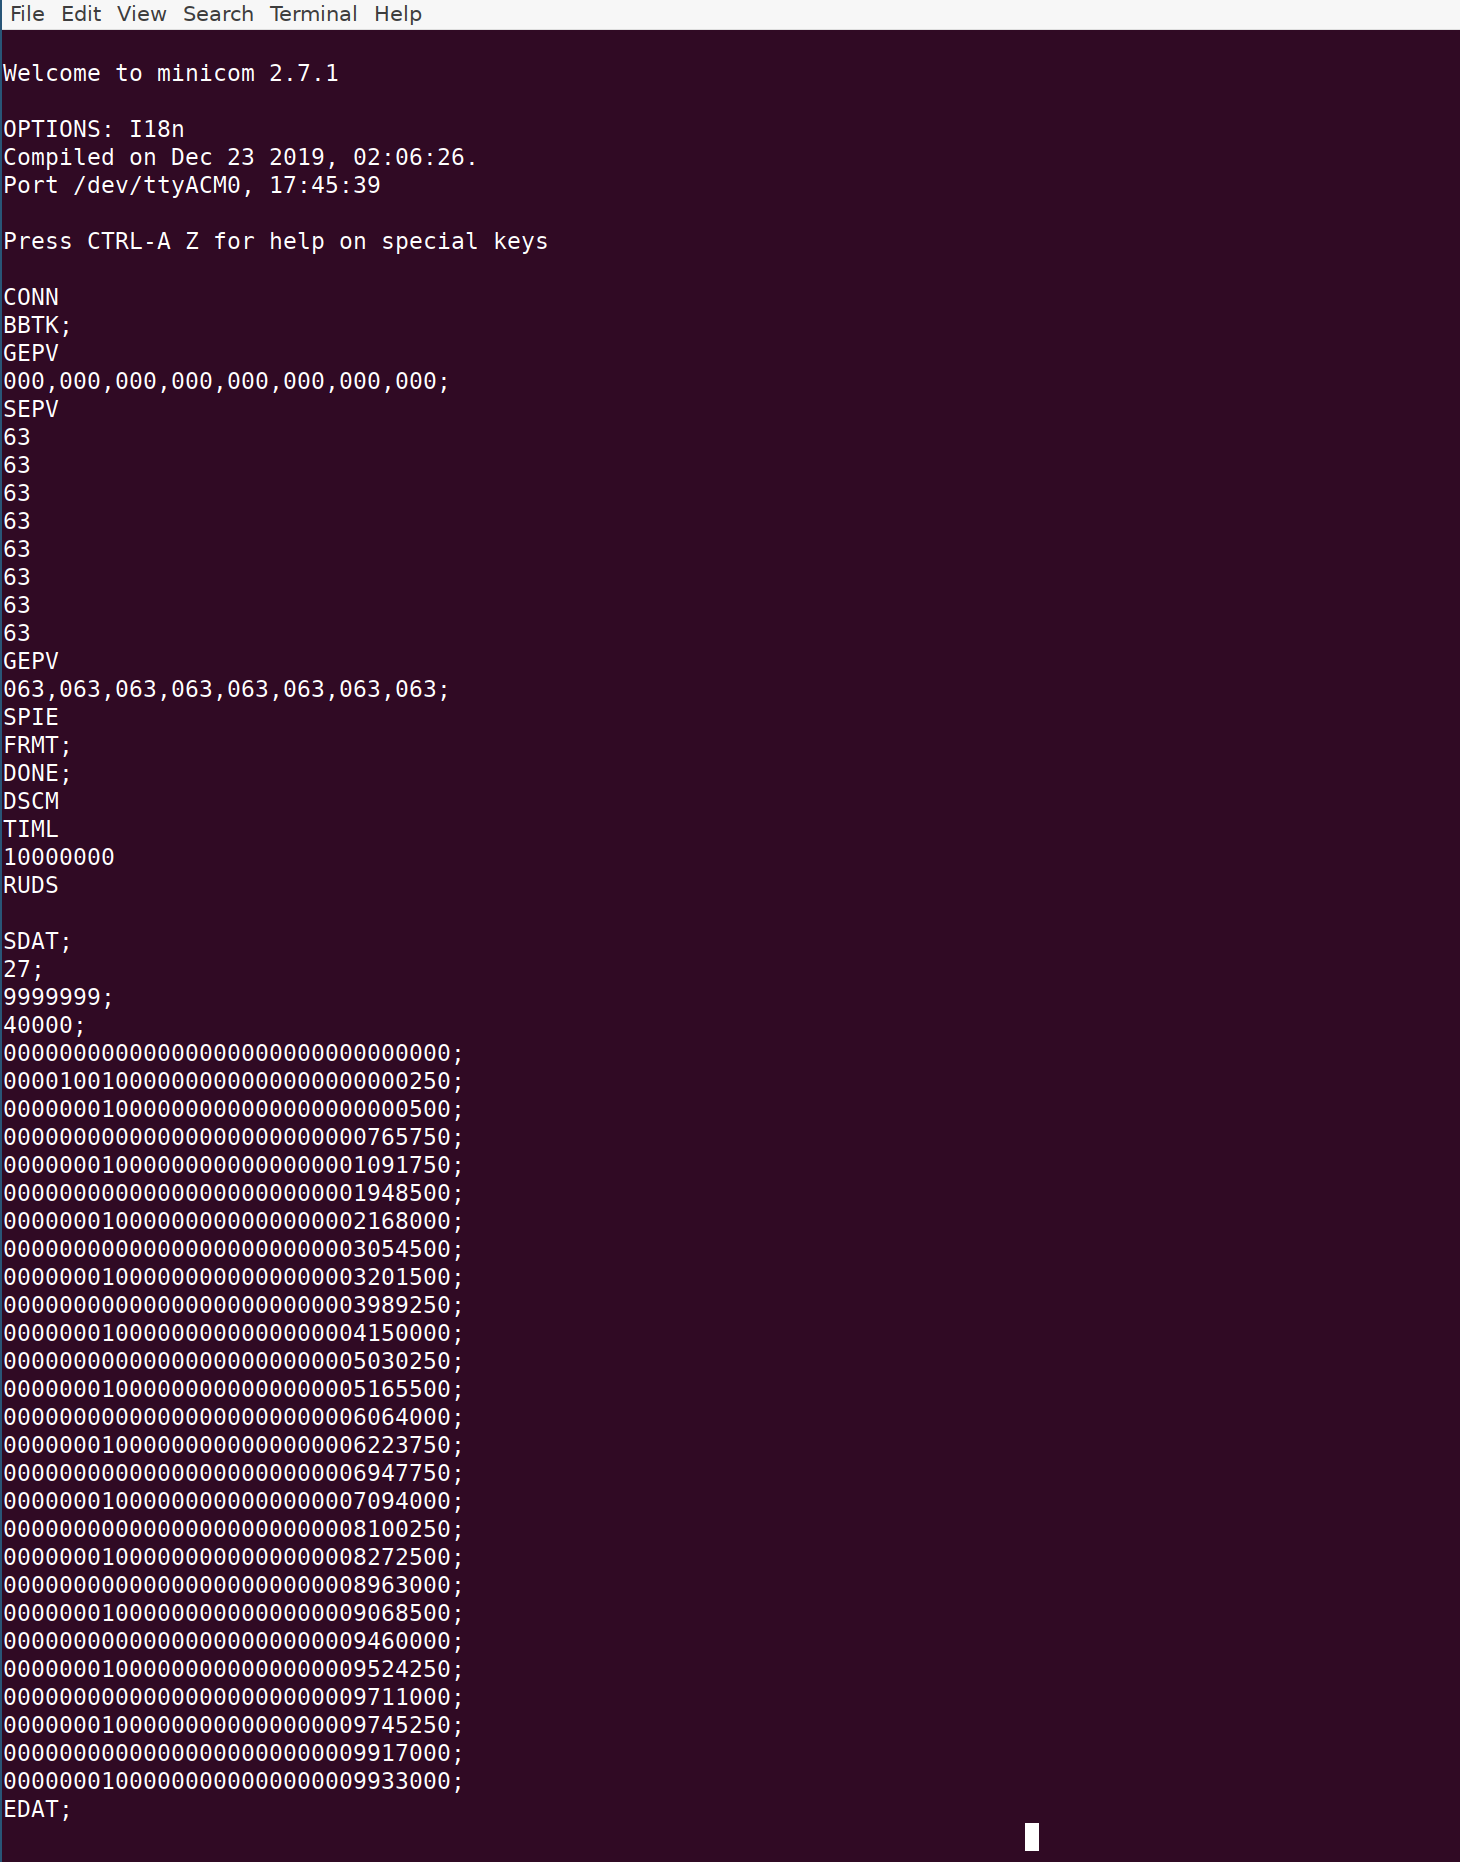
The information about the events is provided in the SDAT; and
EDAT; lines. The lines containing 32 digits encode the events in the
following manner: the first 12 digits reprenet the status of input
ports, the next 8 digits describe the ouput ports (and should all be
zero with the DSC command), and the last 12 digits indicate the time in
microseconds since the start of the acquisition run.